 |
| The gang is all here! Everything I needed for this step is in this shot. |
In order to complete this step, I used my Black and Decker dremel that I picked up from Target, two different sanding tools (more about this later), and a mask to cover my mouth and nose. I just grabbed the instructions for my dremel tool, er, "Rotary Tool", since it was made by Black and Decker and I think Dremel is tradmarked by the company that makes Dremels, and it looks like the 'sanding tools' are actually cutters. Hmm.
My grandfather, who was a wiz with tools, and according to my mother, always said that "you need to use the right tool for the job", is probably rolling over in his grave. But what can I say- I'm learning this as I go, and didn't break anything, so I'm still calling this stage a qualified success.
 |
| The coarse cutting bit in action. |
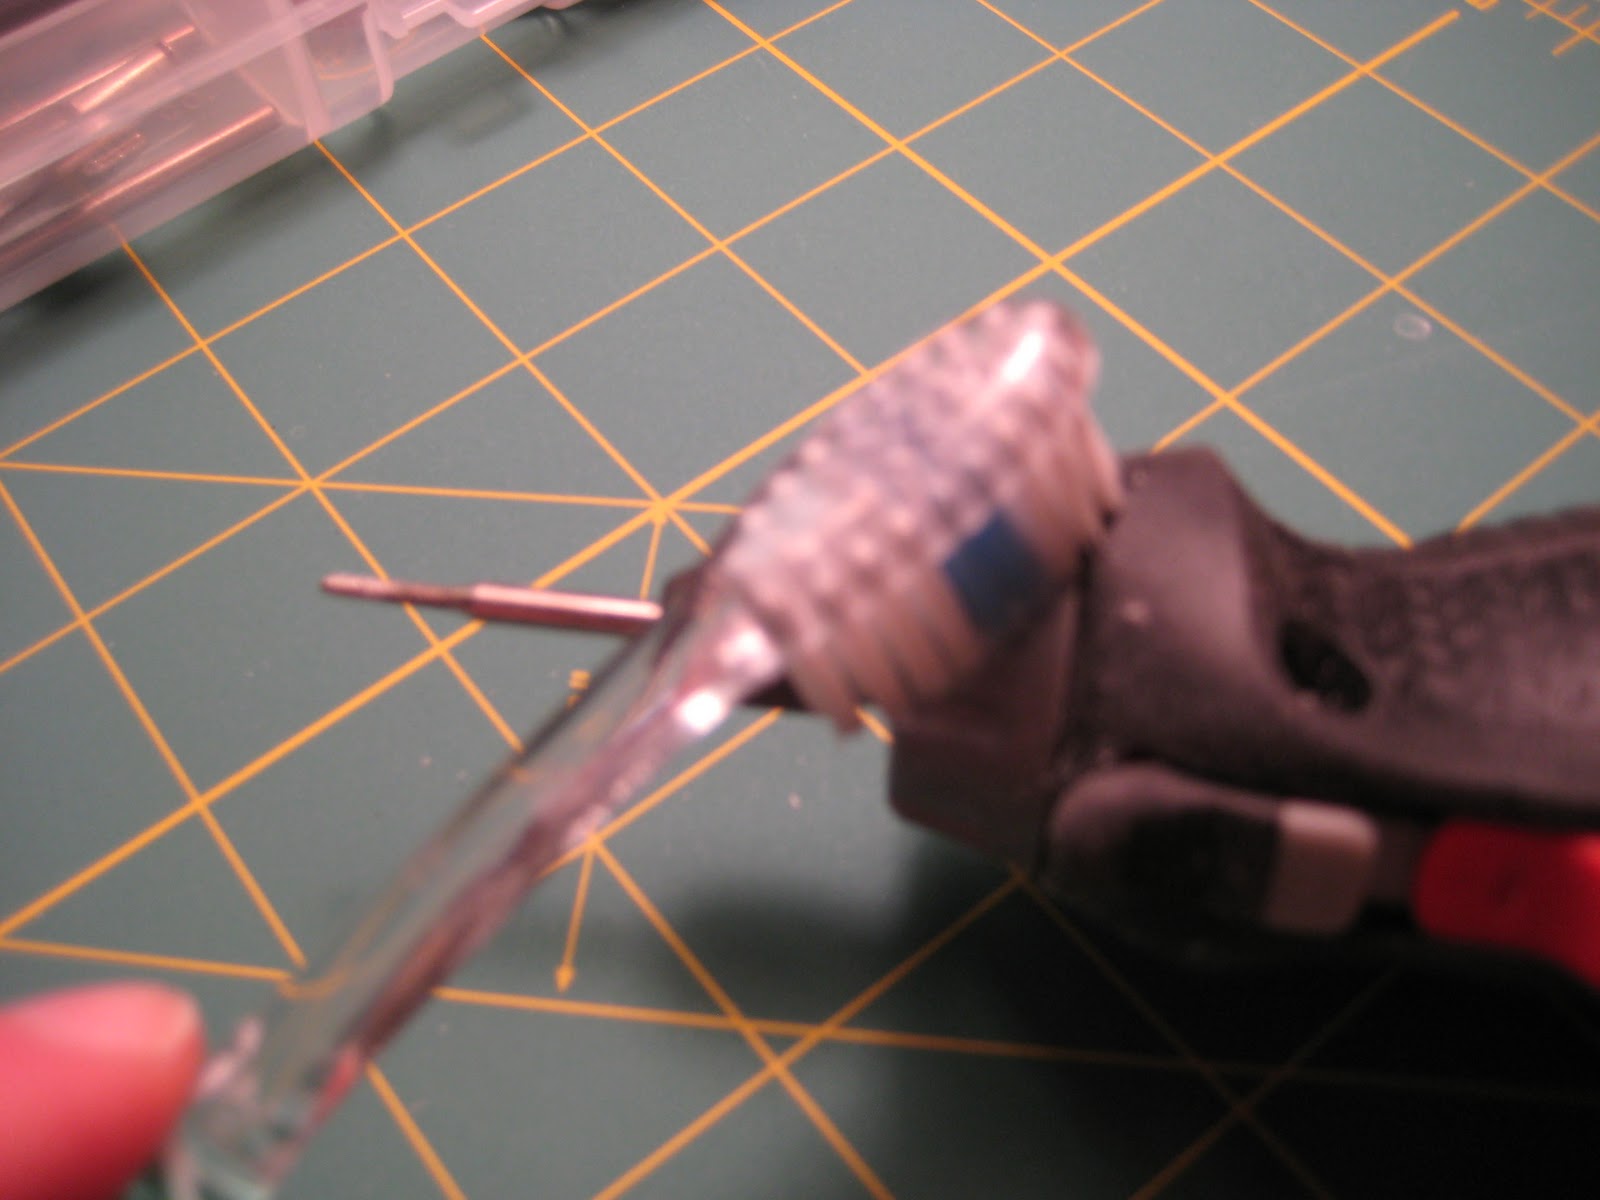
I used the more coarse of my two cutting tools turn sanding tools, and used the lowest speed on my dremel, er, rotary tool.
I am going to get the hang of this. Just you watch.
Based on my first experience with the rotary tool (natch), I learned that on the high setting, the cutting tool will cut through of action figure plastic like tear gas on through a Black Friday shopping mob. Thus, I made sure I was on the lowest speed, because I don't want to destroy my work pieces. I had no problems with the shoulder and elbow sections. I rotary tool'ed (the verbing of America at work) 'em down just a little. At the lowest speed, this took about 4 passes per area I was sanding down to get the joints the way I wanted them.
 |
| The fine cutting bit in action. |
As I said at the top, this was a really fast step. The rotary tool did kick up some plastic dust, so I was glad I had my mask on. I don't know what happens if you breath plastic dust, but I bet it isn't good for me. I didn't use goggles, although I have some and it probably would have been smart of me to do so. I figured my glasses would protect my eyes well enough, which is probably exactly what every guy with glasses thinks just before they have a horrible power tool accident that robs them of their sight.
 |
| Keeping the tools clean. |
I am still a little miffed about my using "cutters" to do something that it sounds to me like they are not designed to do. As much as I would love to be a handyguy, I am about as far from one as a guy can be. Is there a better bit to use with a rotary tool for sanding down plastic? I'll have to check this out. Am I more concerned about this than I should be? Without a doubt. But I would like to be using the right tool for the job.
The next step will be washing everything off and putting a base coat of paint on. I plan on using black spray paint for the base coat, since according to my master text, black base coats make it easier to get shadows to happen in your miniatures. I have one other copy of the same figure; I may do that one in a white spray paint base coat (which the book recommends for minutes that will be painted in bright colors) to contrast how the base coat impacts the final look of the figure. The master text also has some other great suggestions about how to do the spray painting of the base coat, but I'll leave those suggestions for the next blog entry.
So! Painting is on the agenda for next time. Painting. My favorite activity. Wish me luck.
Until next time,
David D.


You have really done a great work to share the hidden art of the great man. It is really a nice work by them. Thanks a lot for this
ReplyDeleteHey VW- glad you like it. :-)
ReplyDelete